


Over the past few years, my preferences for various Hoya species have undergone multiple changes as I've cultivated my collection. Nonetheless, amidst these fluctuations, there are a select few that I've consistently held dear. One such cherished variety is the Hoya Obovata. It's got this tough-as-nails attitude that lets it thrive anywhere, and those round, sturdy leaves won me over every time.
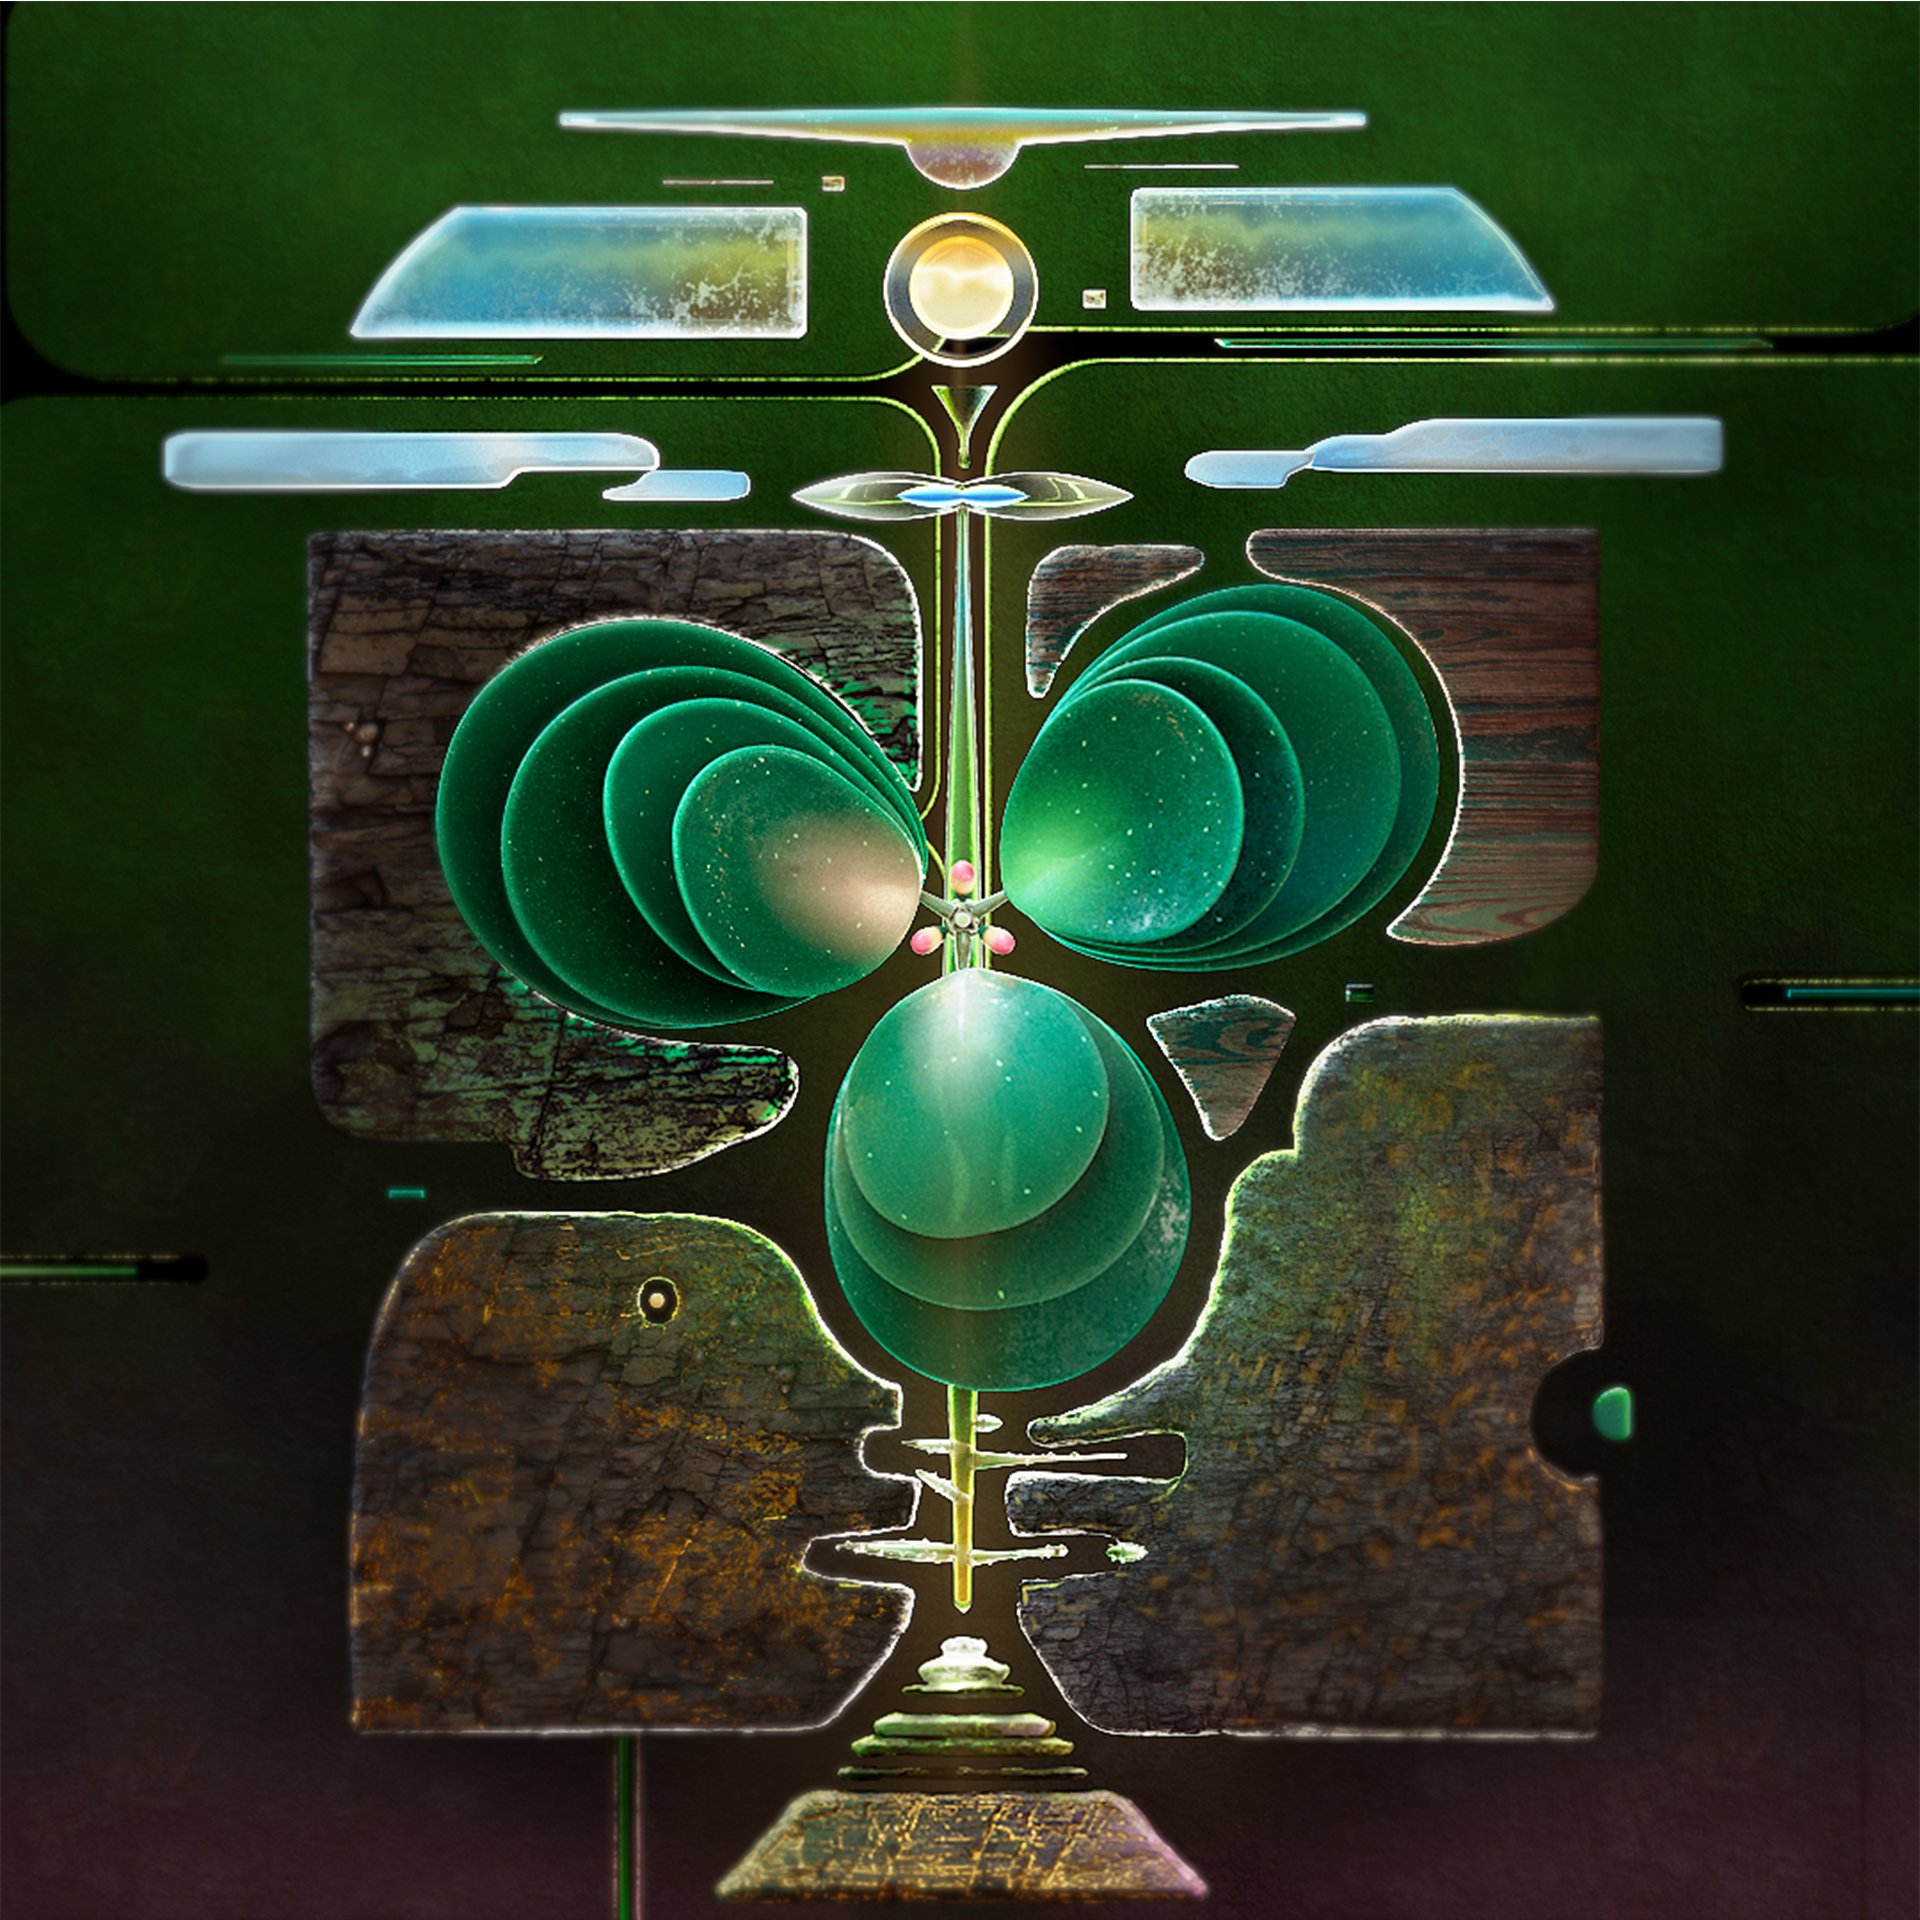
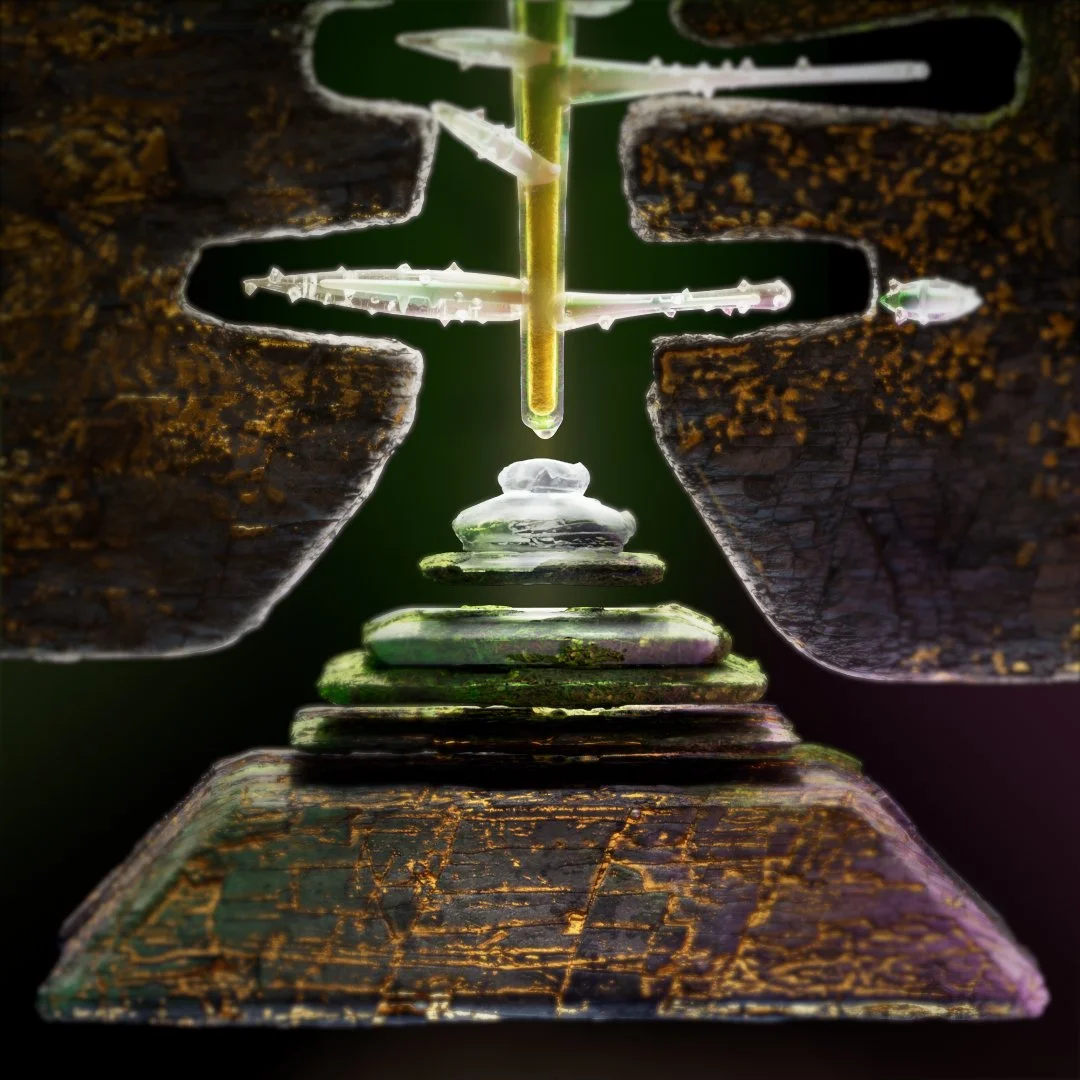
Not long ago, I popped a 3-leaf Hoya Obovata cutting in a vase on my desk, aiming to encourage the growth of new roots. This little cutting has now become a subject for my experimentation with shading using Redshift.
Throughout the journey, I encountered various technical hurdles. Adjusting to the node-based workflow of Redshift required a learning curve (though now I've grown very fond of its operation). The acquisition of skills like UV mapping and material layering marked uncharted territory. Rendering, as anticipated, proved to be a big challenge, requiring a later allotment of time to post-processing using Photoshop to achieve the desired outcome)
Cinema4D || Redshift
지난 몇년동안 호야 수집을 하면서 선호하는 호야의 종류들이 여러번 바꿨었는데 이런 변덕에도 상관없이 항상 애정해온 종류가 몇 있다. 그 중에 하나가 이 오보바타라는 녀석인데 정말 어디에 가져다놔도 잘 자라는 성질이라든지 동글동글하고 딴딴한 잎 같은 것들이 믿음직스럽다.
얼마전에 새로운 뿌리를 내리라고 책상위 화병에 꽂아둔 3잎짜리 오보바타가 있었는데 이거를 요즘 새로 배우고 있는 Redshift shading 모델으로 쓰면 딱일것 같았다. (여기서 셰이딩은 3D 오브젝 위에 입히는 사실적인 질감표현을 말함)
아직은 C4D 라던지 Redshift가 손에 익지 않아서 여러가지 기술적인 장벽들이 있었지만 그것들을 하나씩 해결해나가는 과정 자체도 진짜 재미있었고 보람있었다. 이를테면 노드베이스인 Redshift 시스템에 적응하는 것도 시간이 걸렸고 uvmapping 이라던지 여러가지 다른 재질을 겹치는 기법등을 배우는 거, 랜더가 마음에 들게 뽑아지지 않아서 막판에는 결국 포토샾으로 후작업 처리하는 것들이 그러했다. 프로젝트의 기한은 대강 2-3주로 잡았는데 중간에 고객작업도 있고해서 결과적으로는 거의 한달 반이 지나서야 완성이 되었다.